Laura Ellis is a professional organizer and blogger. Check out her amazing work at Organized by Ellis and on Instagram at @organizedbyellis.
Hosting can be stressful at any time of year, and especially around the holidays! For example, last year we hosted 20 people at our house for Thanksgiving, and while that was fun, this year's theme is "keep it simple!" (Besides--there's something so lovely about a small intimate gathering.)
The idea of keeping it cozy got me thinking of ways to add personal touches to our holiday experience. Like, what about using grandma's china? We have it, so let's use it! I'm normally a sucker for a plain white dish, but setting the table with Grandma Thelma's fine china sounded perfect for this year!
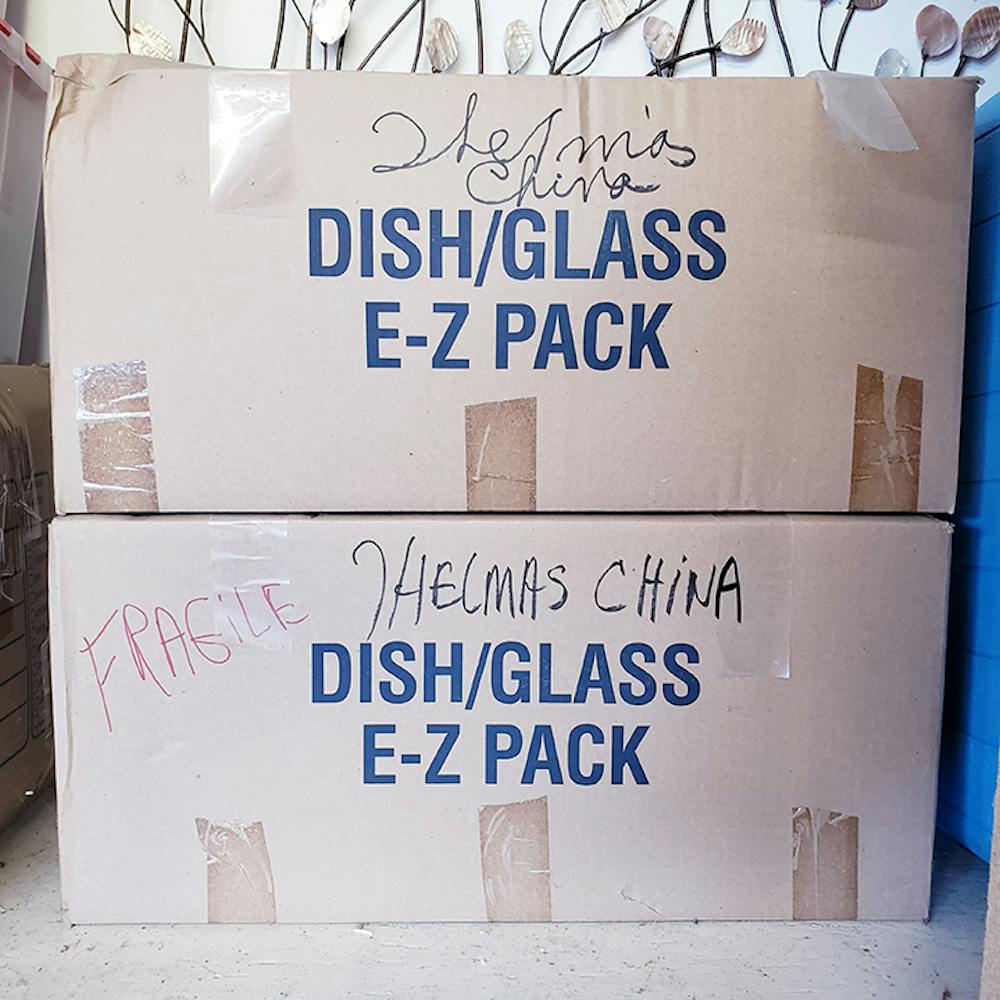
But, where was it? I hadn't seen grandma's china on a holiday table in 10 years; turns out, the china was in boxes in the garage. Okay, let's rescue that china and either use it or let it go! These are the simple steps I followed:
Step 1: Unpack the china, dishes, and glasses
I brought the boxes inside, unpacked them, and checked the condition of the dishes. Everything looked great, but they deserved better storage than those old cardboard boxes. (Plus, keeping china in large boxes makes them heavy and hard to carry, making you less likely to use them!)
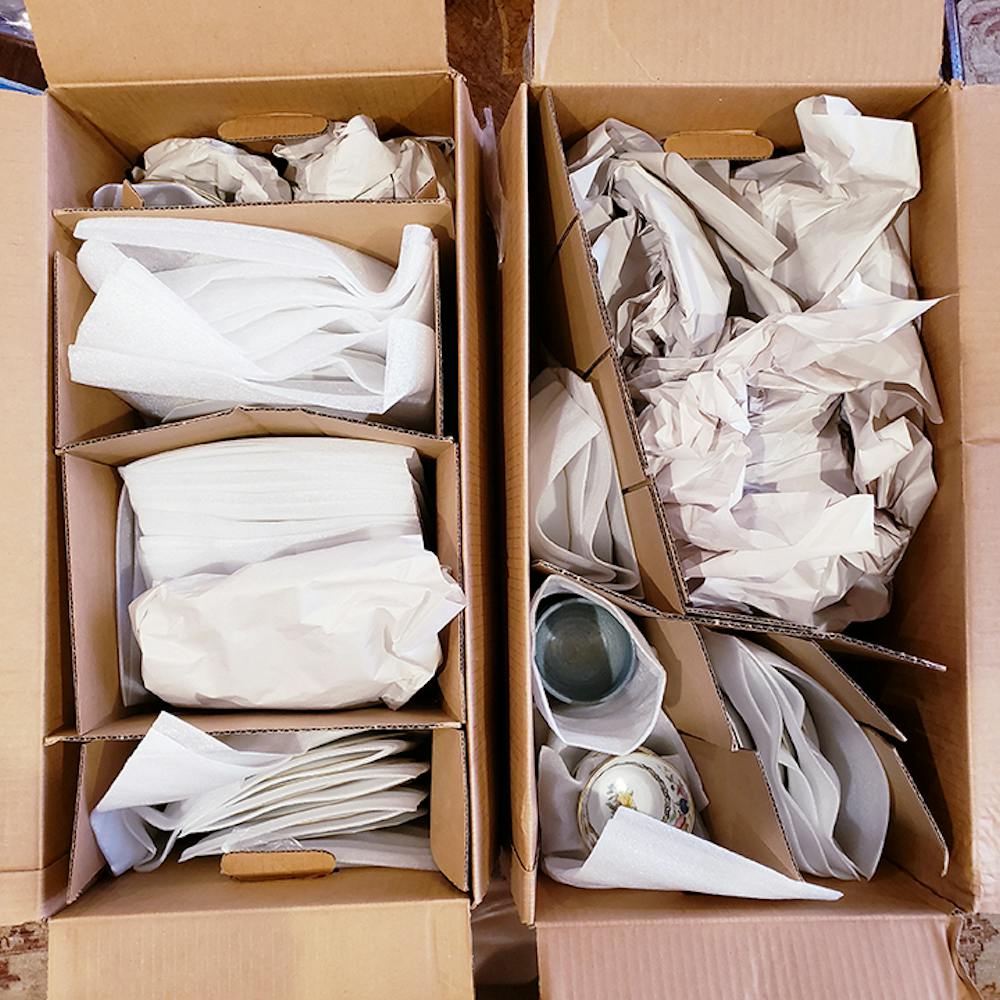
Step 2: Sort "like" with "like"
We then sorted the dishes by category (dinner plates, salad plates, dessert plates, etc.). to figure out how many of each type we have.
(Side note: I was struck by how much smaller these dinner plates from the 1920s are compared to modern ones. I guess they ate smaller portions. Hmm--maybe another reason to use these dishes!)
These are the categories we had to organize:
1. Dinner plates
2. Salad plates
3. Soup bowls
4. Soup plates
5. Dessert plates
6. Teacups and saucers
7. Side dish bowls
8. Serving bowls
9. Gravy boat
10. Platter
11. Amber wine glasses
12. Green goblet glasses
Sorting into categories also helps you figure out how many containers you need to organize it!
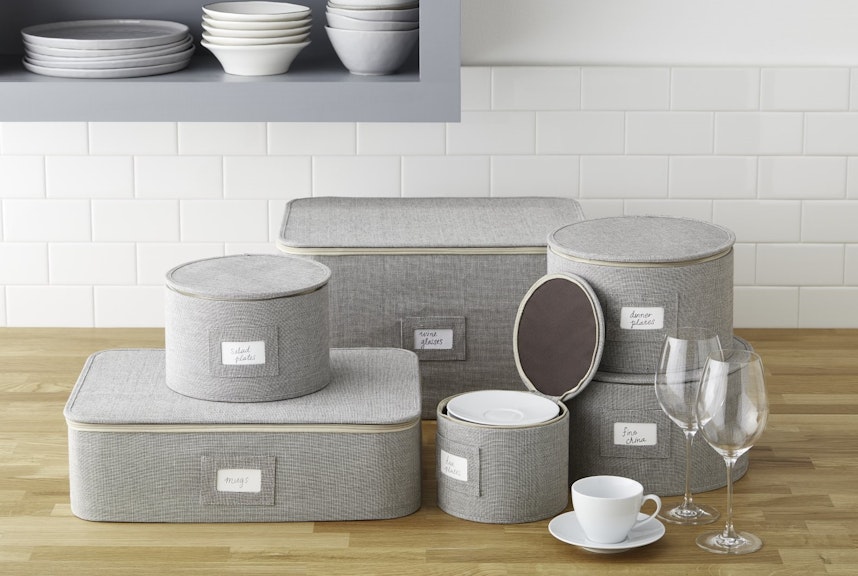
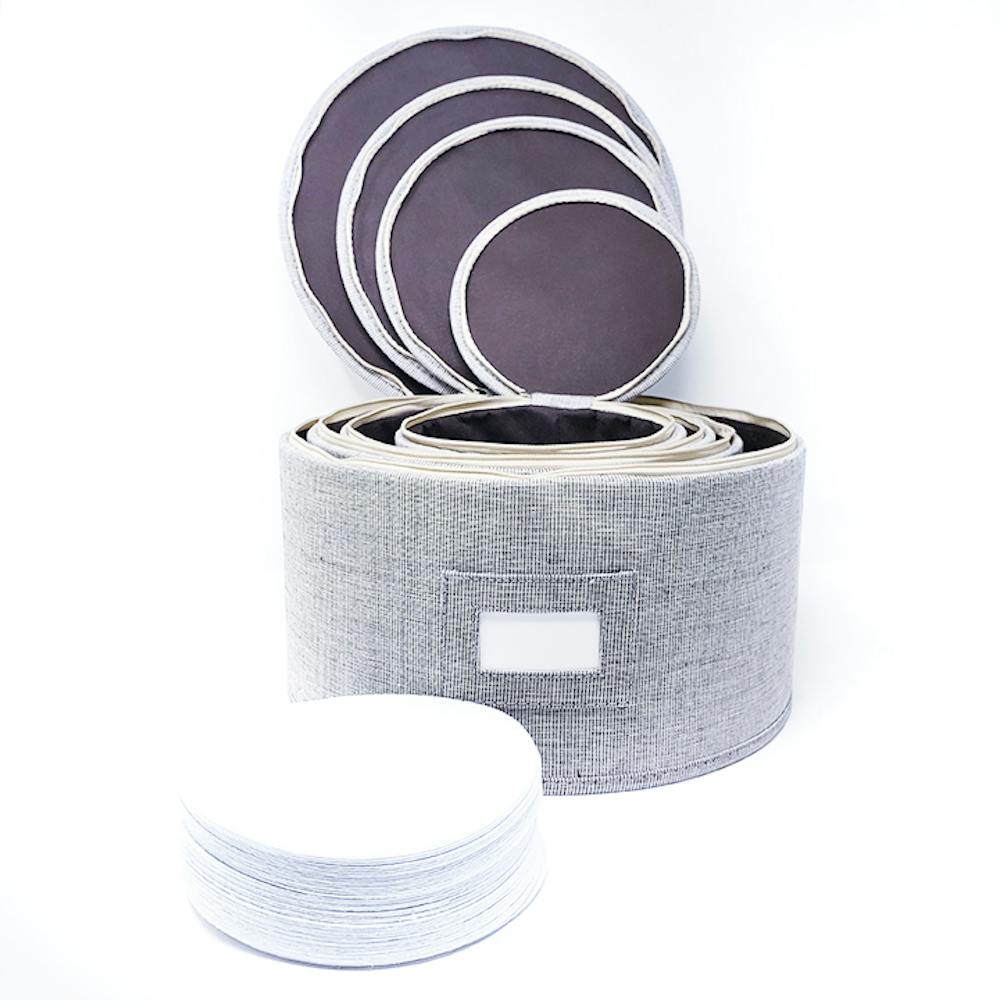
Step 3: Select the correct organization products
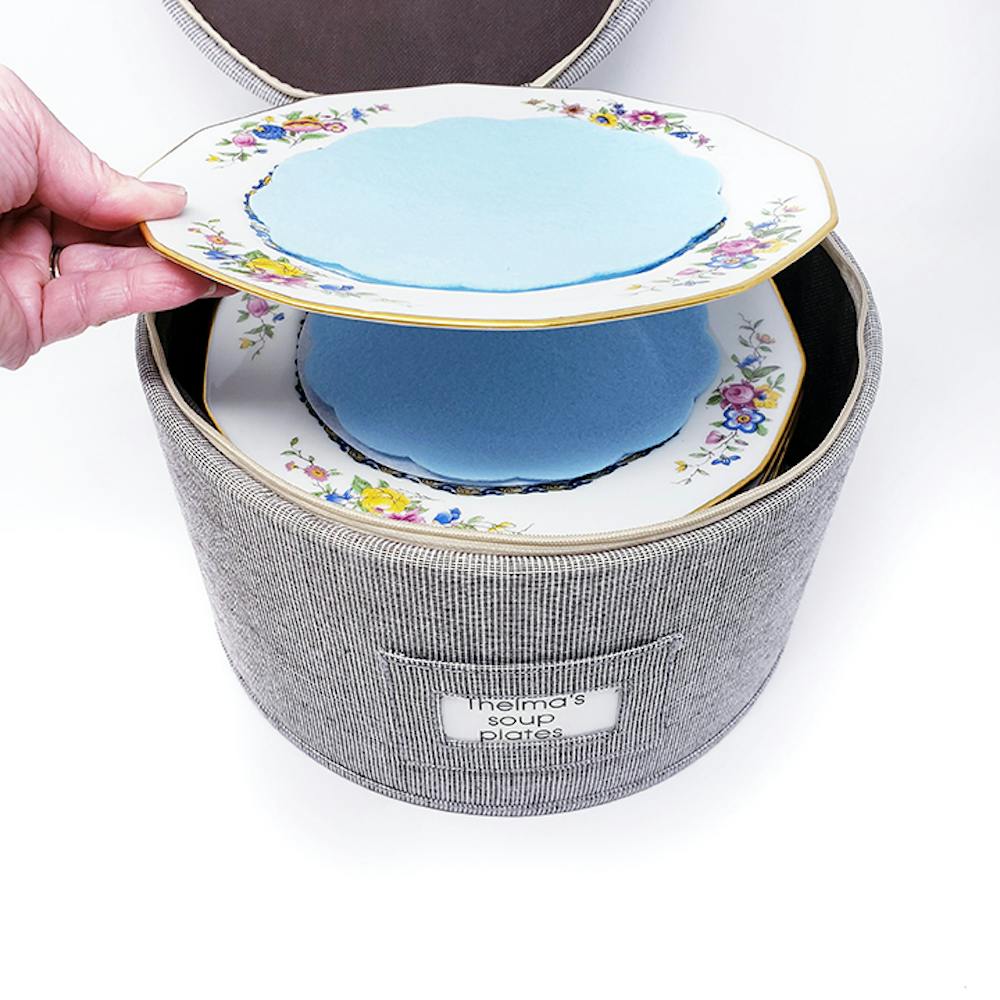
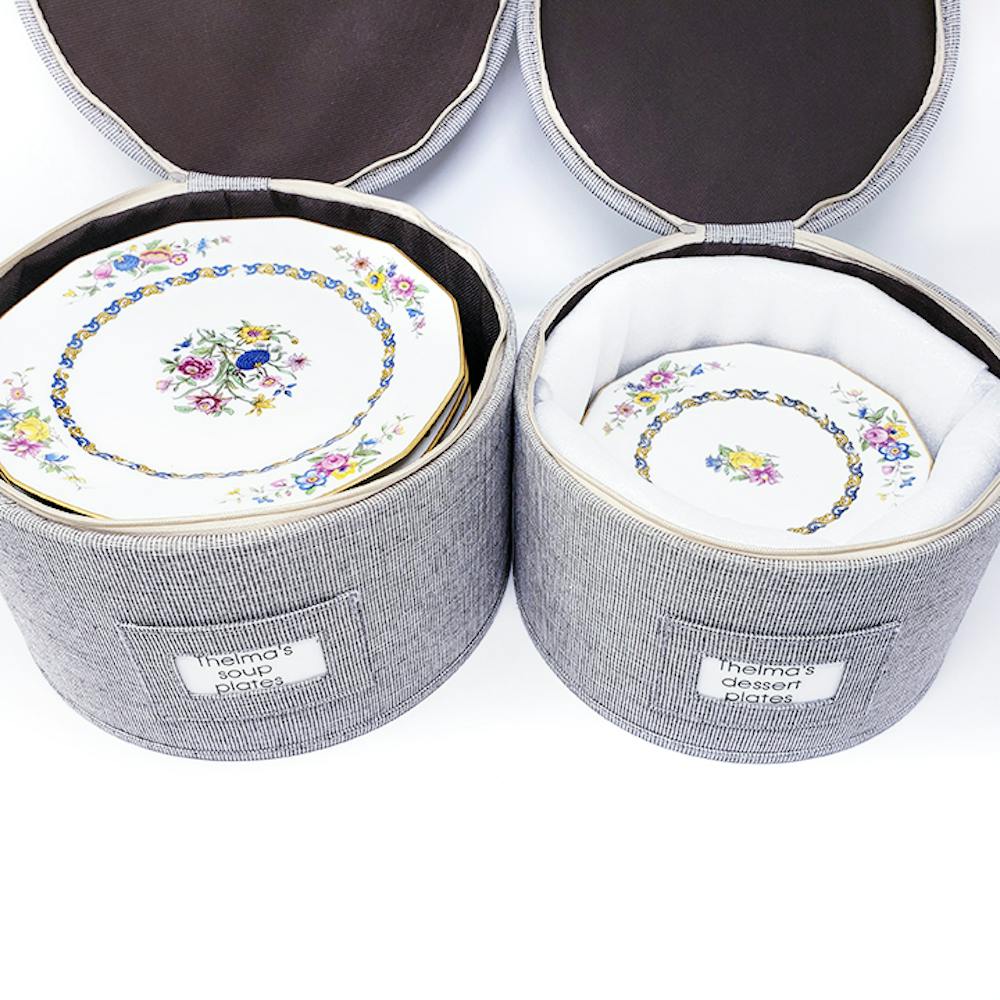
To store the items I chose two of the 4-Piece Brown Twill Plate & China Storage Sets from The Container Store. (The fabric that covers the boxes is a twill made of brown and white, so it has a light, tailored look to it.) These containers are super sturdy and have an easy-to-use zipper closure. It also comes with fabric separators to put in-between each plate and protect them from chipping. China organized and stored in these boxes will be safe, easy to access, and look good. YES--YES--YES!
For extra protection, I also added the Hagerty Fine China Separators. (Grandma's china has lasted 100 years, I'm not going to be the reason they don't make past Thanksgiving!) These felt separators are super soft and provide that extra peace of mind!
After I unpacked the dishes I realized we also had some leftover foam dish sleeves, so I used them to fill in the edges around the smaller plates. I like reusing what I can, and they gave the small dishes a little extra cushion.
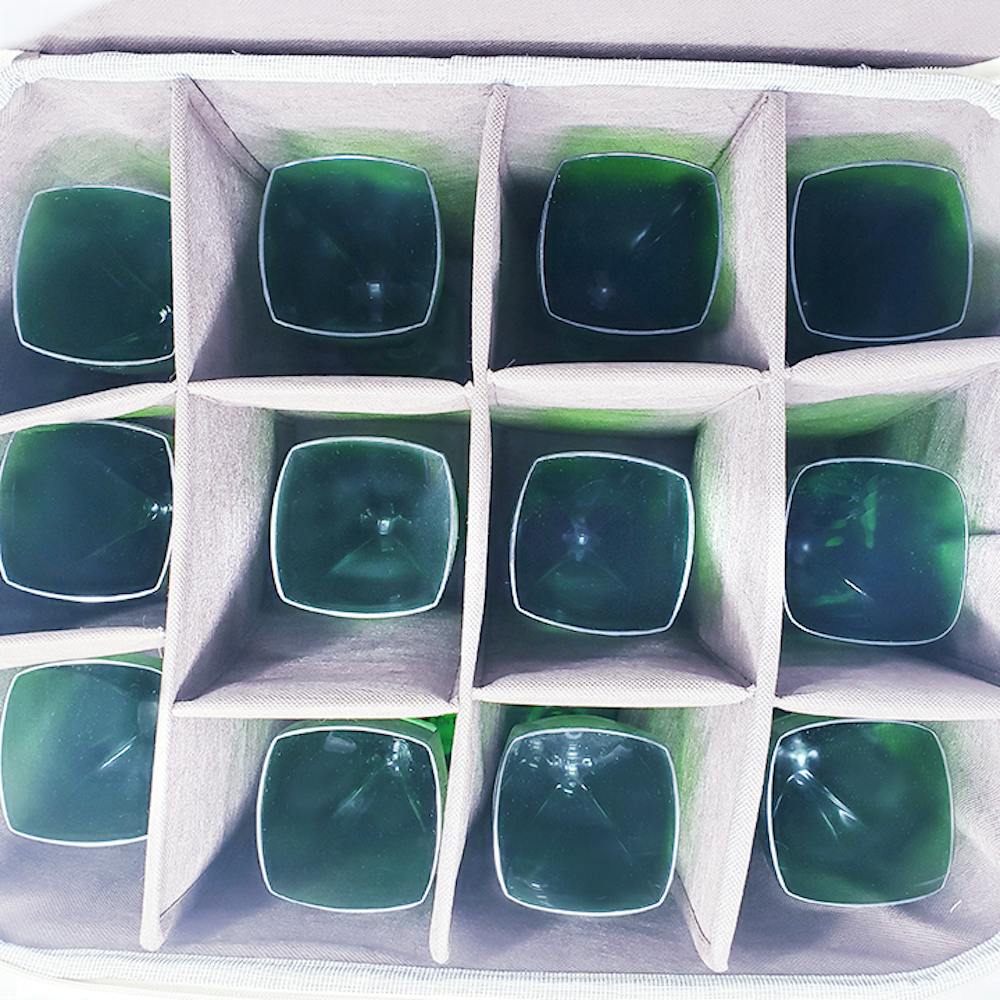
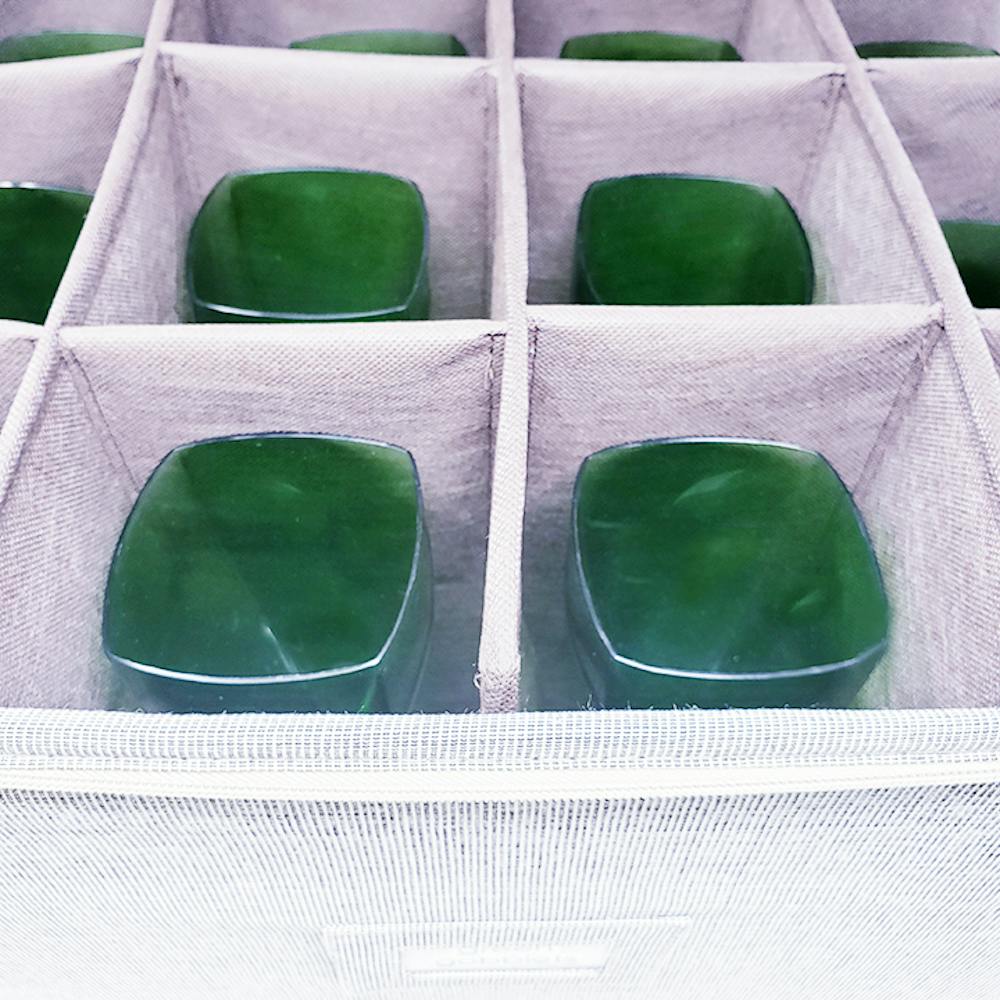
As for these green wine glasses, we hardly ever use them. (They really come out for Christmas and St. Patrick's Day, so they don't need to be with our everyday glasses.) That's why I decided to pack them up and store them in the cabinet, and I organized them using the Brown Twill Stemware/Wine Glass Storage Case. This case will hold 12 glasses up to 9-1/2" tall, so they are perfect for glasses you only use a few times a year.
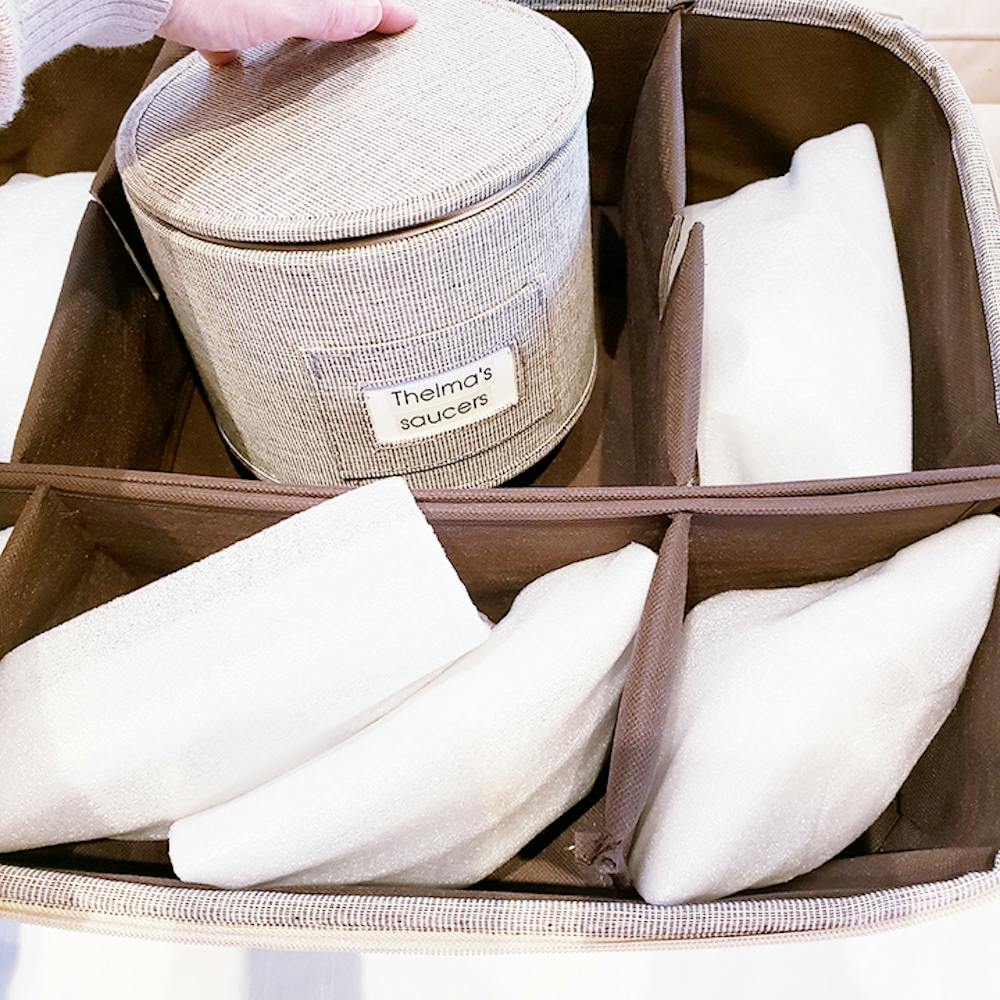
Storing a tea set and serving bowls can be awkward because those pieces don't always fit in traditional storage boxes, so that's why I used the Brown Cup/Mug & China Storage Case. The soft dividers between the sections can be moved to create space for odd shaped pieces, which makes them a great option for serving dishes.
Step 4: Make the labels
Organizing wouldn't be complete without labels. No one wants to unzip and search through 10 boxes to find the plates they need, so labeling is super important, especially with containers that aren't clear. Luckily, they manufacturer already thought of that! These dinnerware storage boxes each have label holders on the front.
Pro-tip: With the label paper in the slot, use a pencil to mark the four corners. This will show you where to write.
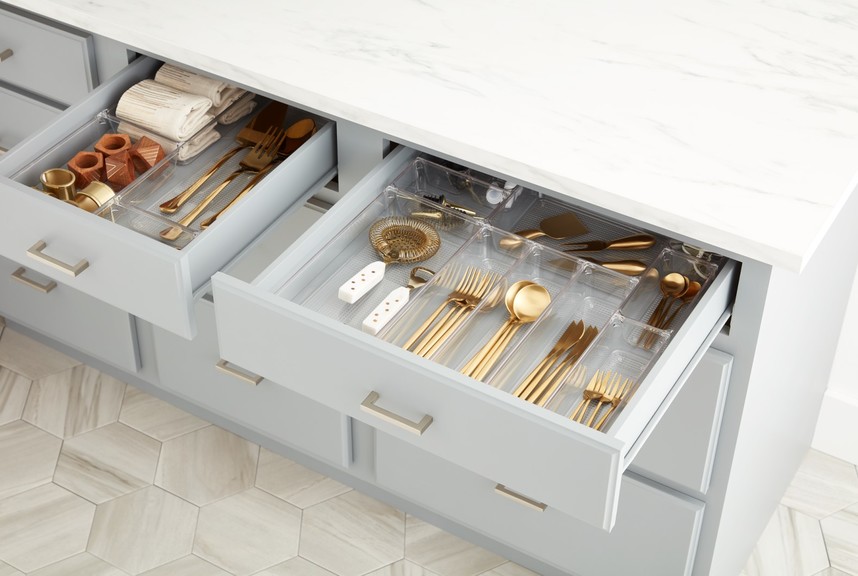
Step 5: Don't forget about the silver!
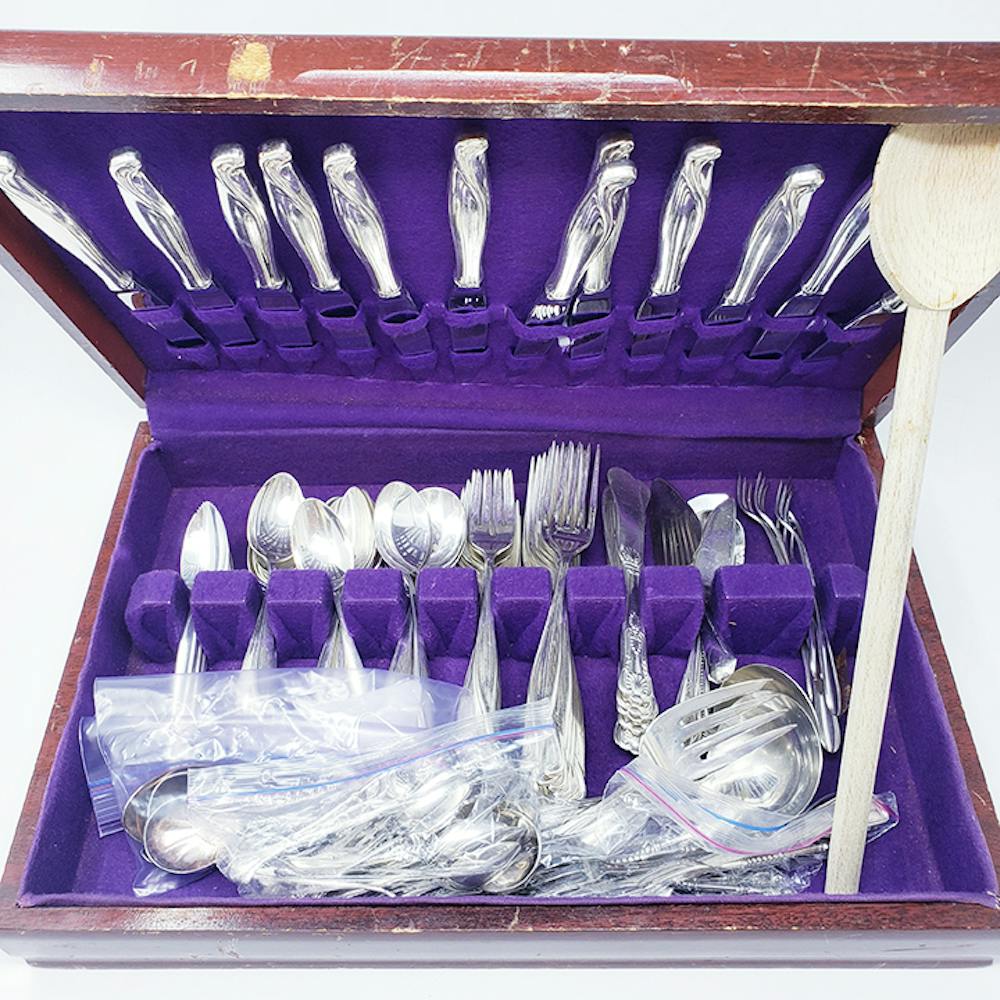
Now that the china was organized, it was time to move on to the silver. I love the look of silver, but if I'm being honest it always feels like a chore to use because it tarnishes easily. As you can see from this photo, we used a heavy wooden box to store the silver and had to use a wooden spoon to prop open the lid, so it was hard for us to set the table.
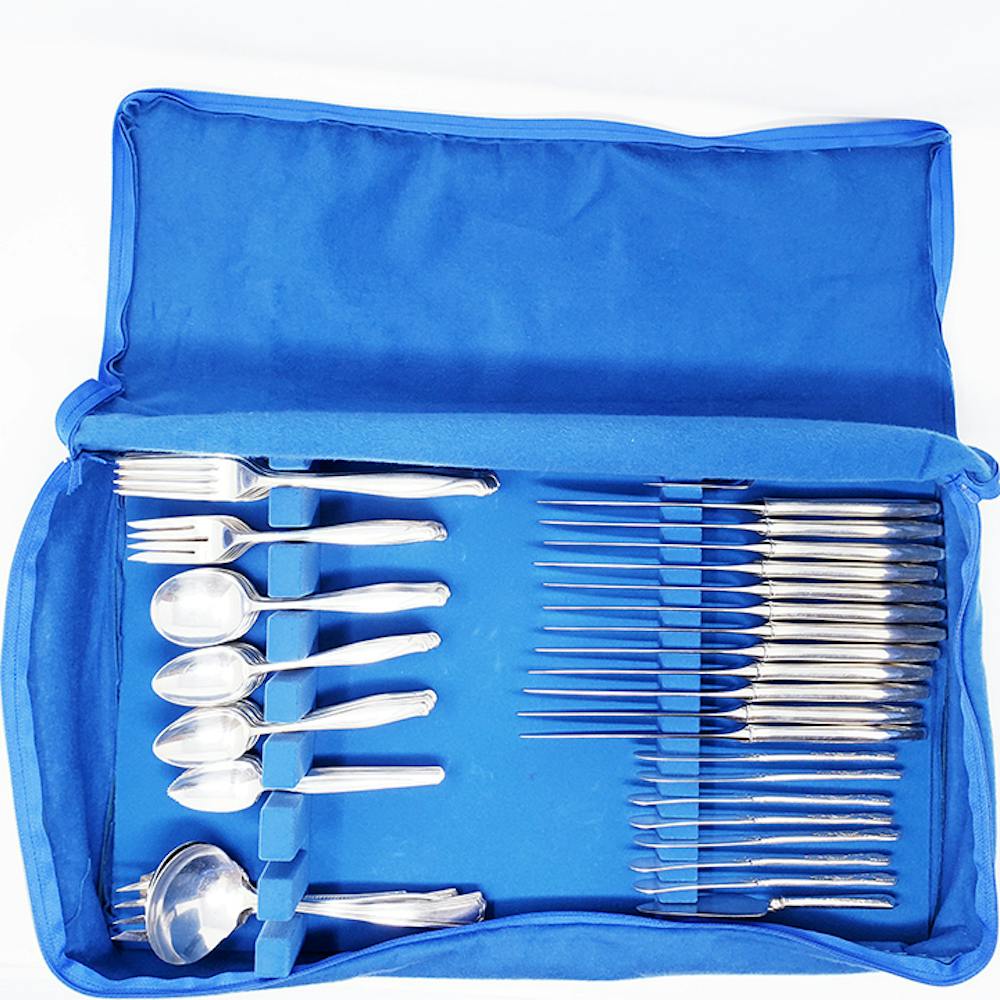
But we found a better solution at The Container Store. We now use the Hagerty Silver Flatware Storage Tray. It's made of silversmiths' cloth (which gives it tarnish-resistant protection) and holds up to 120 pieces of flatware. I have to admit, when I first pulled it out of the package and saw the soft sided edges, I thought it wouldn't be sturdy enough to hold such heavy silver. But I was wrong--it's super-strong and as soon as I transferred the silver to the tray, I could feel how stable it was!
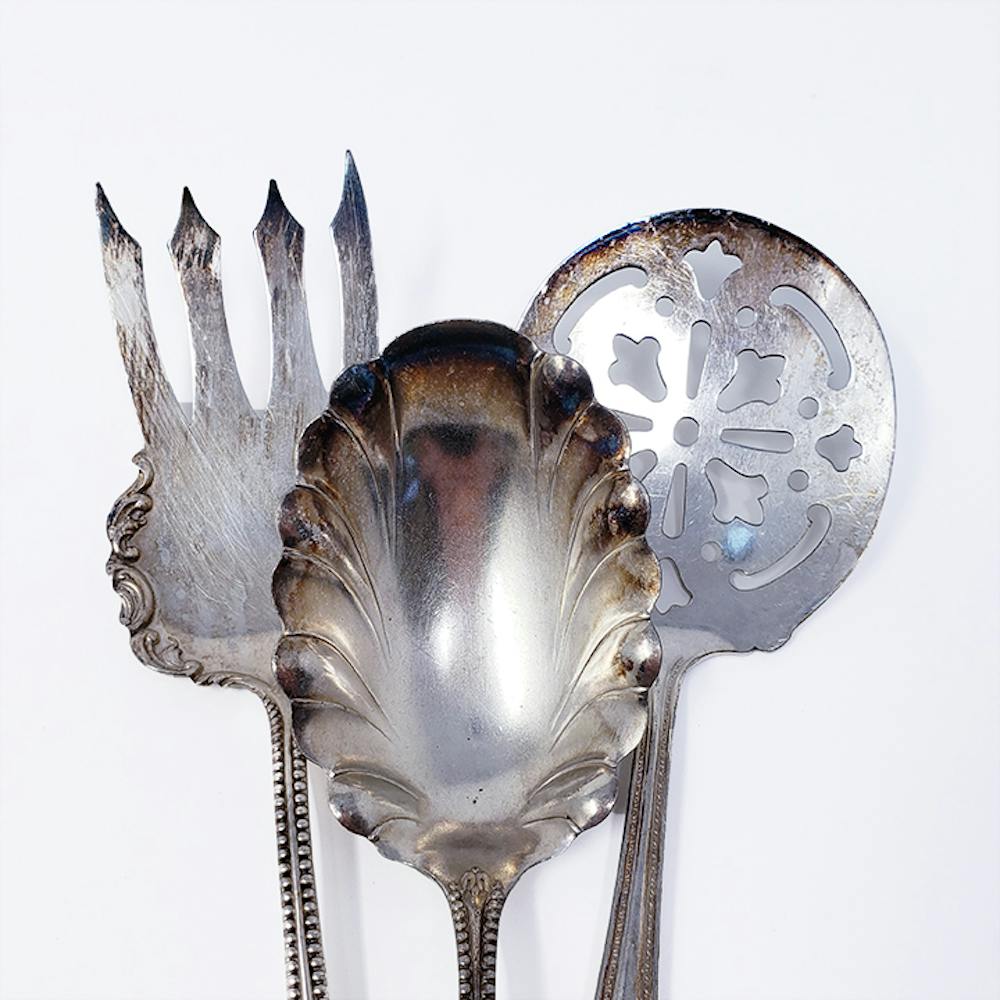
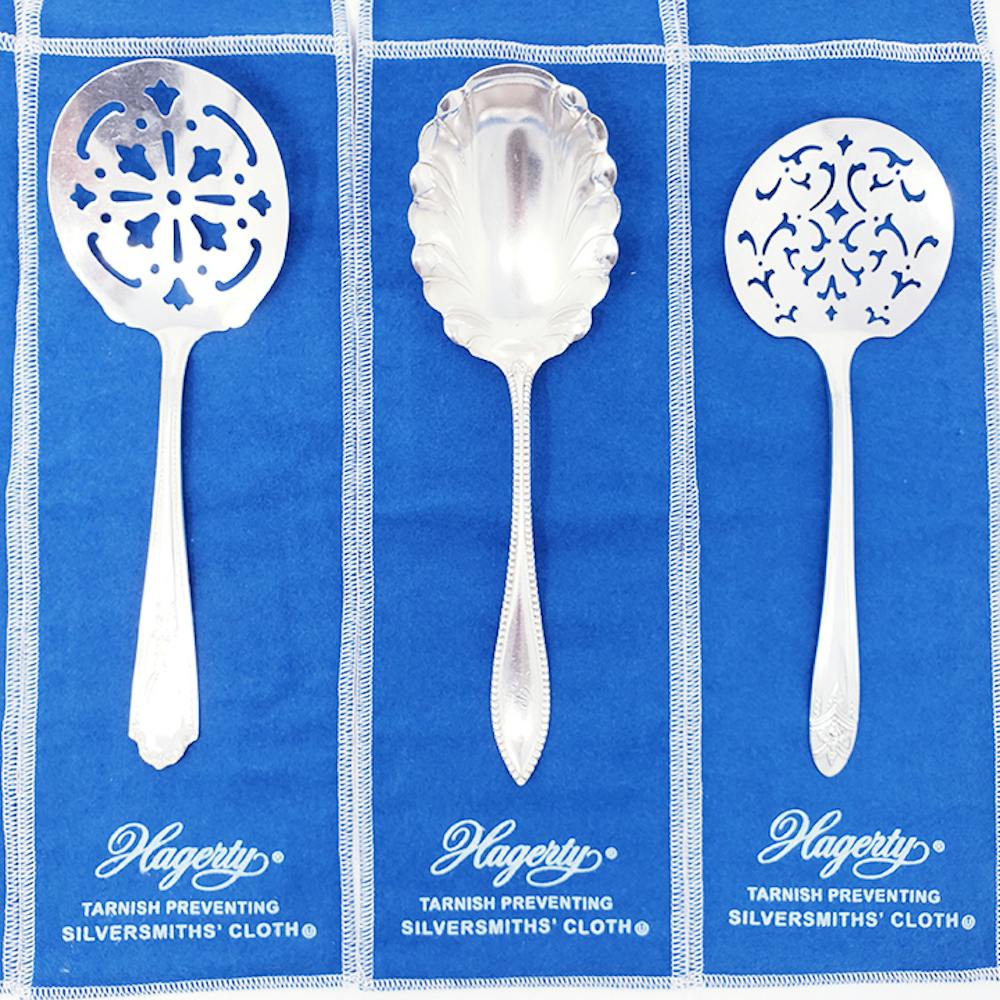
I also used the Hagerty 4¿ x 12¿ Silver Keeper Bags for the serving pieces. I polished the silver when I unpacked it, but since these bags prevent the silver from tarnishing, I'm looking forward to not having to do it again!
Getting our china and silver all organized for our guests was the perfect way to kick off the holiday season! Investing those few hours will save us so much time, energy and space in the future, and we're so thankful these products from The Container Store helped us combat the chaos! Now we can stick to this year's theme of keeping it simple--and as a bonus, we're ready for all the holidays yet to come!